Photography Tips & Tricks
Dog aesthetics: Adopt Me” bib or neutral-colored bandana recommended; attempt to keep accessories (harness, leash, martingale collar) as color-coordinated as possible, with freedom harness ideally blending in with fur color or complementing the color; “Adopt Me” vest is optional and may be a good choice for shots taken in shops and more crowded areas, but not in wooded walk/hike areas; dog facial expression: open mouth panting “smile” is always nice, but not essential as long as the dog looks relaxed (albeit serious)
Leash placement: front clip may be necessary to slow dog down on walks for the front-angle video shot, but otherwise try to limit to back clip or collar clip only to limit excess leashes cluttering shot; handler should try to keep leash as slack as possible for shots, especially photos but would also be nice in video - don’t be afraid of letting dog get a little ahead or to the end of the leash if they’re exploring since this frees up the frame to get dog-only shot without handler interfering in background
Storage: make sure you have room on your phone before you start - if tight on space, recommend activating cloud storage
Get low: angles should be closer to straight-on, may be fun to get lower and shoot upwards
More is more: take LOTS of photos of the same shot - you can always delete the excess later, better to have too many photos than missing the money shot
Portrait mode: use if your phone isn’t slow when on this setting; adjust f-stop so the background isn’t overly blurred (hit “edit” in upper righthand corner, then tap the “f” number in upper lefthand corner, then adjust blur with slider)
Lenses: don’t use the digital zoom-in function (2x or 3x) because it pixelates; don’t use iPhone Ultra Wide angle (0.5x), unless the dog is too close to fit in frame, or if you’re going to take point-of-view shots from the perspective of the handler showing the dog walking on leash with the surroundings in frame
Eye contact: best to have dog’s eyes looking directly at camera for the photo or slightly above it; try to get light reflection on the eyes to make them really sparkle
Light: avoid backlit shots if possible but also limit too much direct sun glare because of risk of shadow (this is the only time zoom function is potentially handy, since you can be farther away from the subject, eliminating risk of shadow interference); if backlit, diffuse light through the trees can be nice; overcast or in the shade will be the best options for nice neutral lighting
Framing: don’t get too cropped in when framing - can always crop later; vertical/portrait orientation preferred over landscape; try to aim for a variety of close-up and full body shots; close-up is nice to showcase dog’s beautiful face but full body is also useful to show cute quirks for how he/she sits, manners, etc (if full body, include ALL body parts, including tail + paws/toes)
Examples:
BAD: Boo has distorted upper angle, too much shadow on face/right side, excessive auto-blur from Portrait Mode, poorly represents dog
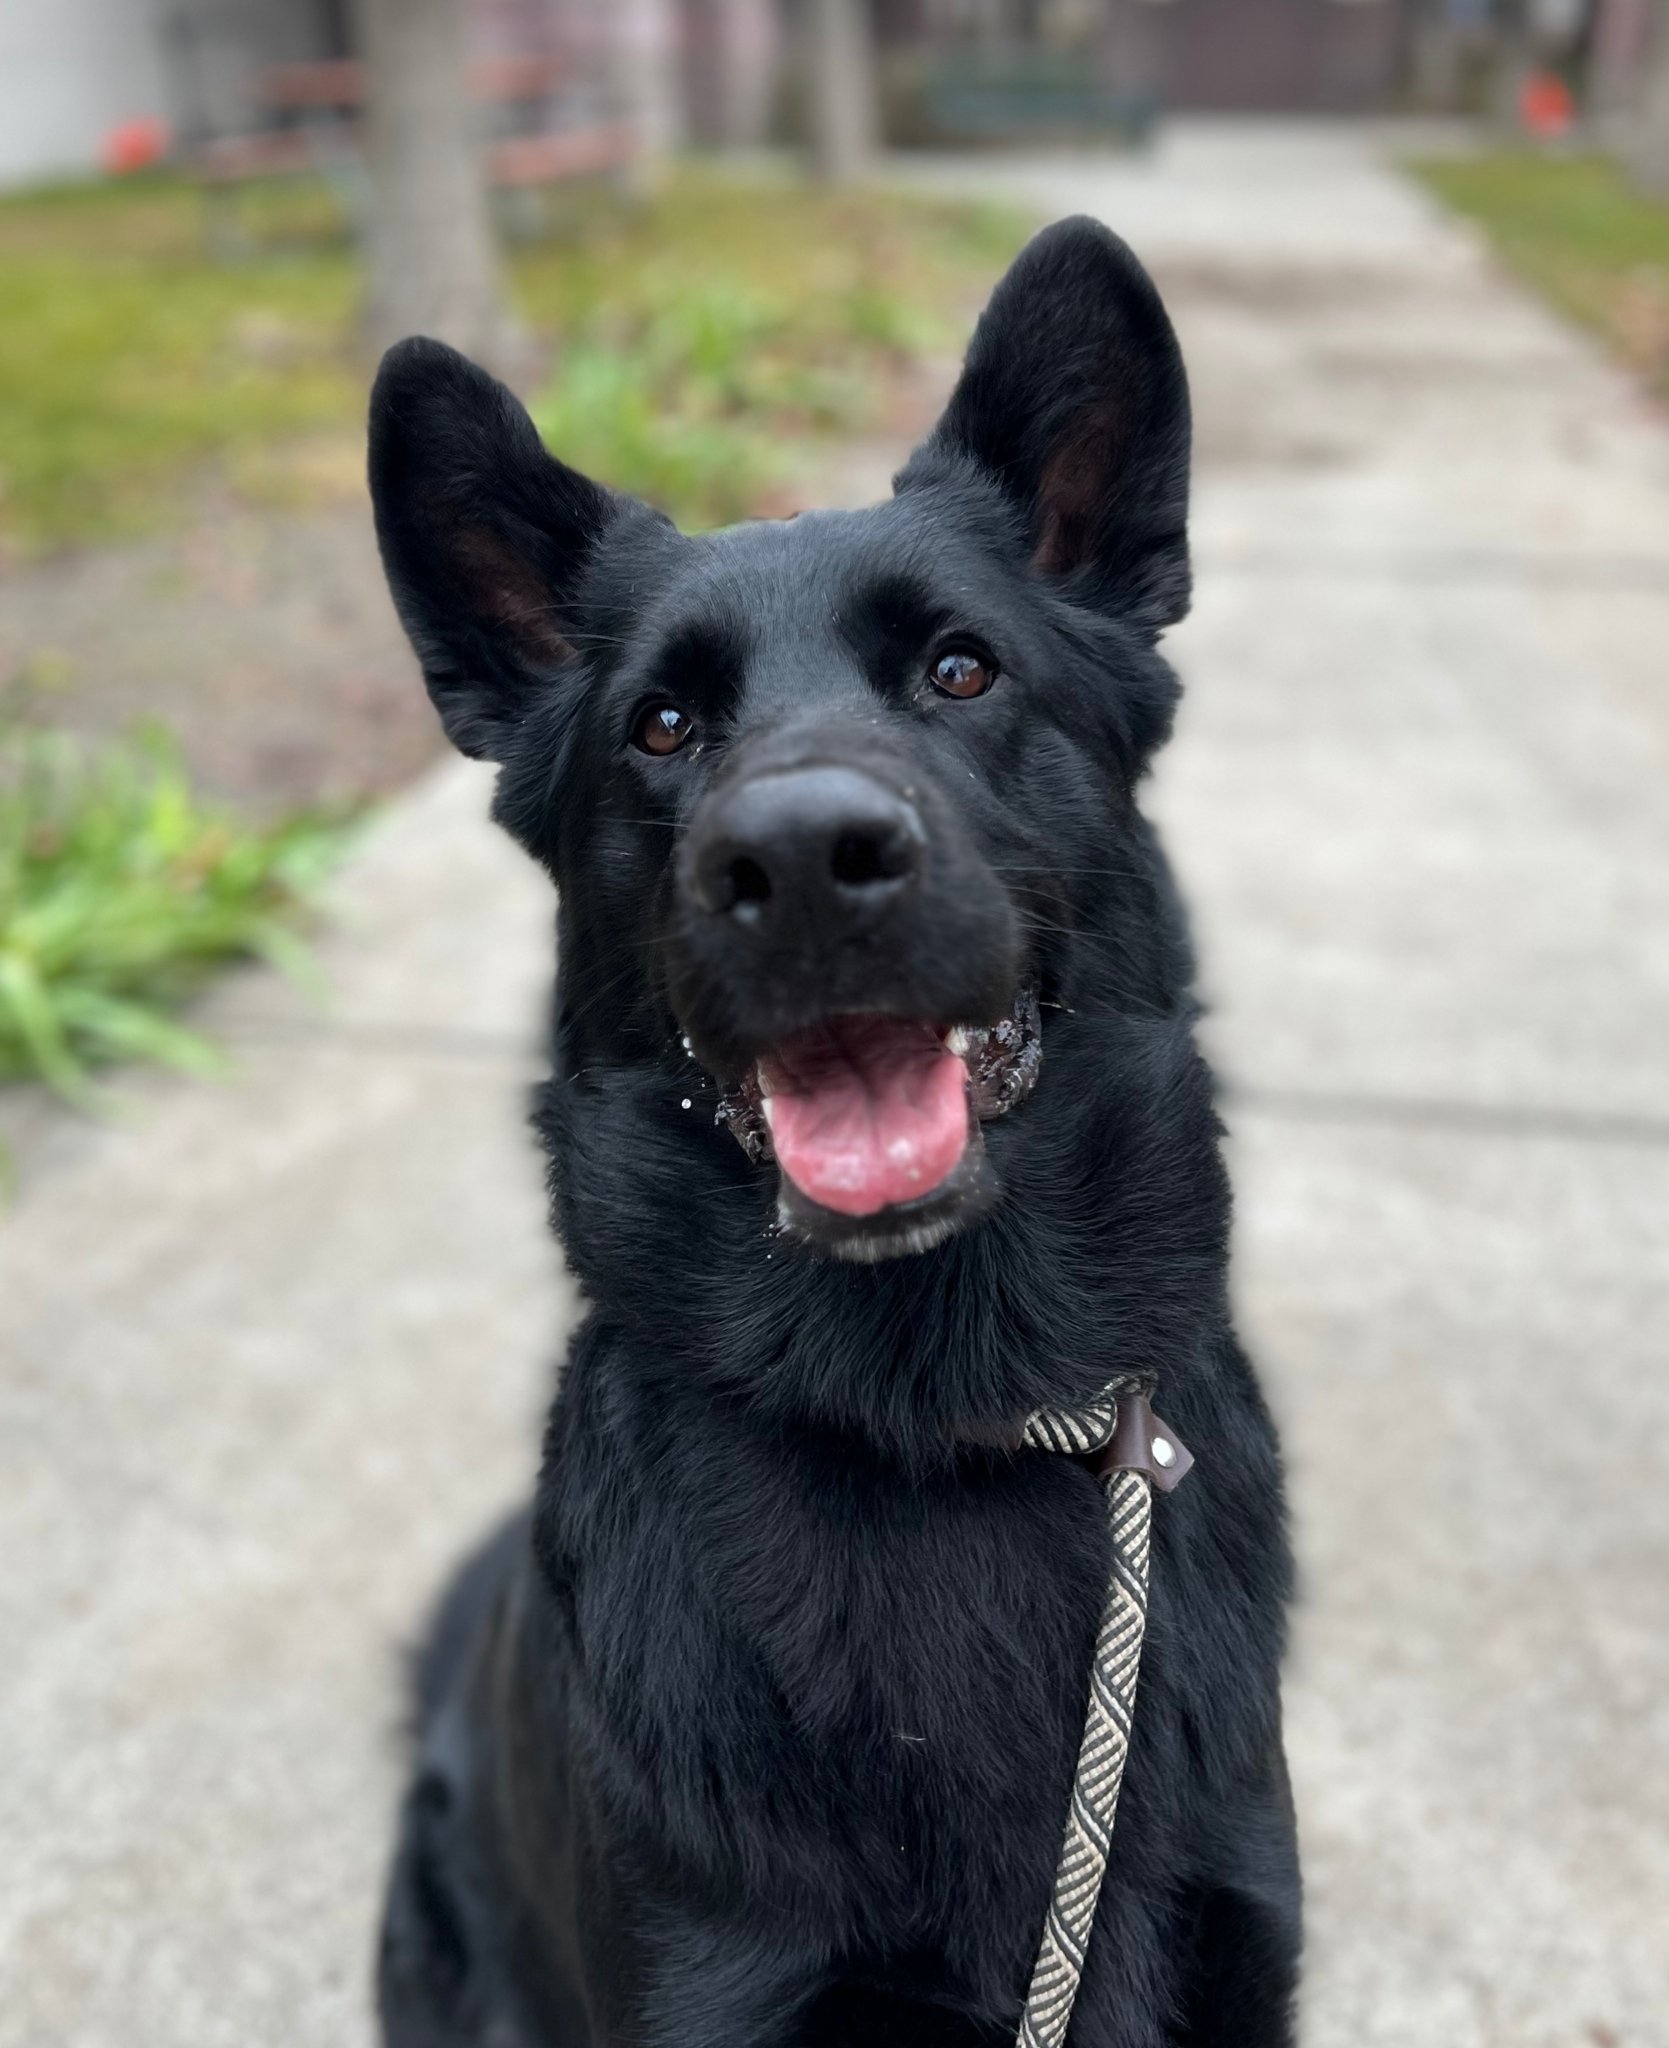
GOOD: Front-on angle with good light in Fez’s eyes, engaging expression, good blur balance


